Showing posts with label Sewing room. Show all posts

Monday, August 20, 2012

Appliqued T-Shirts

2 comments
Hope everyone had a great weekend!  I got back in my sewing/craft room Saturday!  A (very organized) friend came over to Applique a few shirts to wear when they go to Disney World at Christmas!  Yes....not till Christmas!!!  She's definitely NOT a procrastinator.   Allyson and her husband, Rob, have two of the cutest little boys.  Hubby's not too keen on the idea of "matching Mickey Mouse shirts" but he'll be a trouper I'm sure!  Her youngest son, Caden has an upcoming birthday in October, and she will wrap up the Disney t-shirts with a note telling them about the surprise 'a trip' to Disney!!!  They'll be soooo excited and will probably ask her every day, "How much longer till Christmas?"

Anyway....I'd never done much Appliquing on my Brother sewing/embroidery machine...until now!  It was a lot of fun and now I should be really good at it!  Thought I'd share some of the pics!  Have fun looking!


This is my friend, Allyson, helping with the cutting!  She has so many ideas!!!


We have a 'few' more to do!  But, aren't they cute?
Bye for now!
~Judy~


Wednesday, October 26, 2011

A little something to share - ROMAN SHADES the easy way!

6 comments
Finally going to share a post on something I made following wonderfully detailed instructions here from littlegreennotebook &  from Angela here http://365days2simplicity.blogspot.com/

I put up these Damask curtain panels from Pier 1 Imports about 6 months ago....but after seeing a DIY how to on 365 days 2 simplicity blog I hadddddd to attempt making them into Roman Shades using the mini blinds that were already in the windows.  Sooooo I'd like to share this.....
 Here are the curtains hanging on one of the two windows on either side of my cutting table!
 I had painted the five drawer knobs black and screwed them in with double ended screws and added black grosgrain ribbon to the curtain panels.....
 So....I took down the mini blinds and laid them out on the floor and proceeded to cut the 'ladder string' that holds each blind in.  Careful not to cut the 'bold' string that makes them raise up & down.


 Next I removed the little round tabs holding the bottom rung on and removed all but the six blinds I intended to attach the material to.

 My windows are 60" in length so I left 6 blinds 9" apart to create my Roman Shade folds!
 The rest I threw away.
 Next step was to reattach the bottom rung with the little tabs back on.
 The curtain fabric was too wide now and too long so I cut it to fit the inside of the window frame and then hemmed each side and the top.  (The bottom was already hemmed).

 Next, I applied glue to each of the 6 blinds (avoiding getting glue on the string!)  And adhered them to the fabric.

 After hanging my new Roman Shade....I hemmed the rest of the curtain so as to make a valance....I hated not to reuse the little black knobs and the ribbon was already attached.  and VOILA!!!

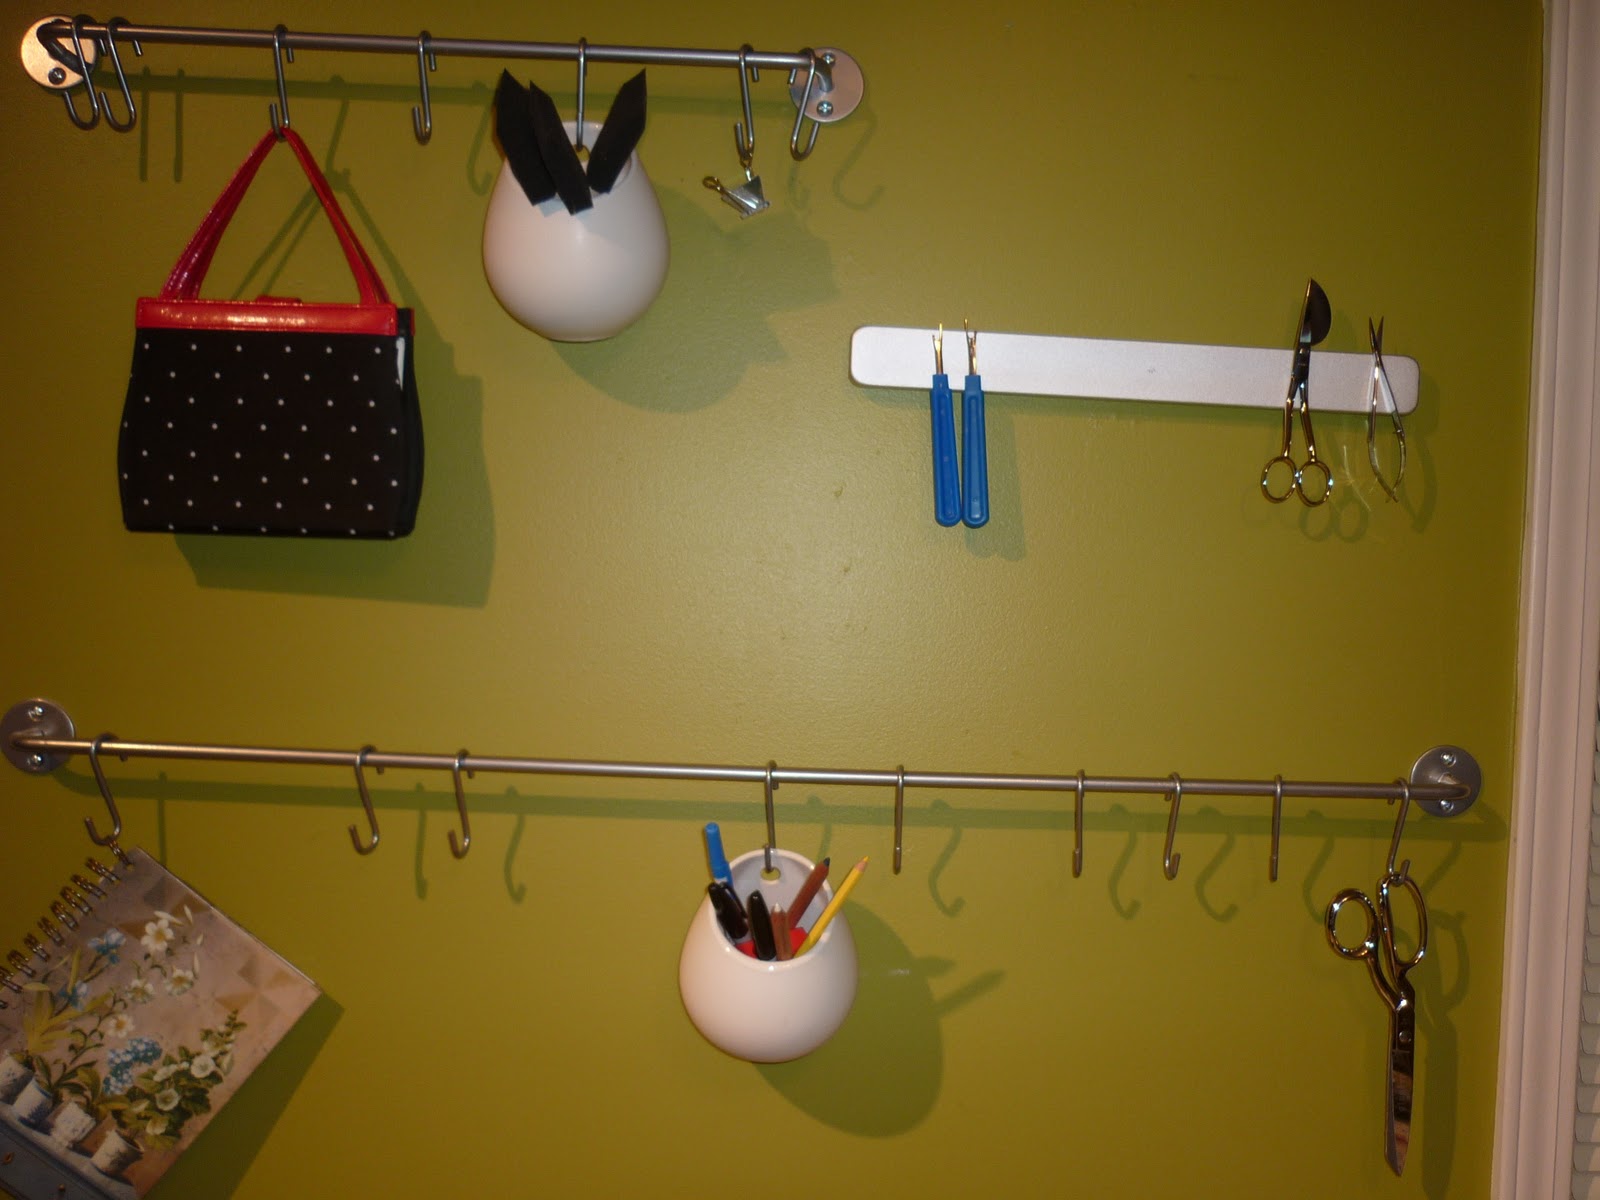
 Here's a picture of my IKEA items for organizing my 'Stuff'.  Then I just repeated it all for the other  window!  I'm so glad I came across this DIY tutorial! 
Now I'll show a few more pictures of the rest of the room.....mind you it is in 'work mode' condition!


Linking up to:

One Artsy Mama


  Hello!  Just hooked up to a linky party and hope you'll stop by to see all the great ideas you can get by checking out the other blogs.